We give the best Services
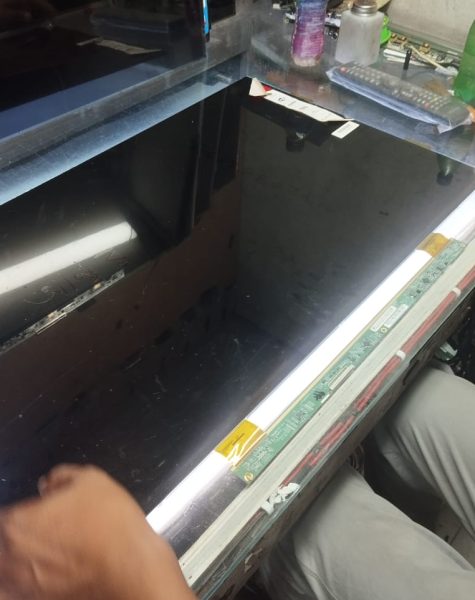
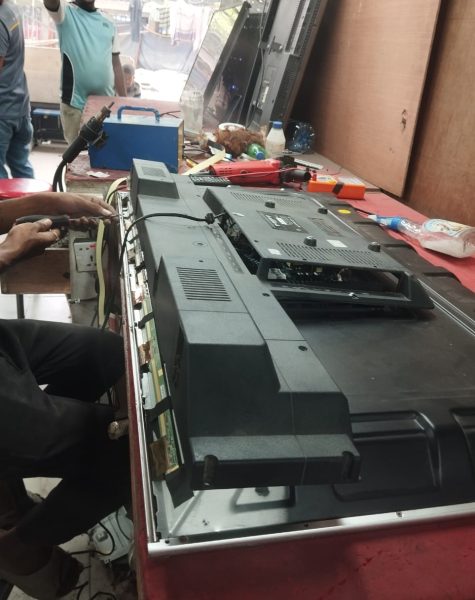
Repairing an LED or LCD TV motherboard requires a detailed approach, as it involves working with small and sensitive electronic components. Here’s a step-by-step outline to help guide you through the process:
1. Diagnose the Issue
- Symptoms Check: Identify the symptoms (e.g., no power, random shutdowns, distorted video, no sound).
- Visual Inspection: Look for burnt areas, blown capacitors, or any obvious physical damage on the board.
- Error Codes/Indicators: Some TVs have built-in diagnostics. Check for any blinking light patterns or error codes, as these might point to a specific issue.
2. Test Power Supply
- Check Power Input: Ensure that the motherboard is receiving proper voltage from the power supply unit.
- Capacitor Testing: Use a multimeter to test capacitors on the motherboard, as faulty capacitors are a common cause of issues.
- Fuse and Diode Check: Use a multimeter to check for blown fuses or faulty diodes on the motherboard, replacing them if necessary.
3. Identify and Replace Faulty Components
- Capacitors: If any capacitors are bulging or leaking, desolder and replace them with identical or compatible ones.
- Voltage Regulators and ICs: Commonly fail on motherboards and may need replacement if they are malfunctioning. Use a multimeter to test for unusual resistance or voltage drops.
- Resistors and Transistors: These are also prone to damage. Check and replace as needed.
- Microcontroller (IC Chip): If the display or functionality issues persist, the IC chip may need reprogramming or replacement, though this requires a high level of expertise.
4. Check and Resolder Loose Connections
- Loose Solder Joints: Over time, joints can weaken. Inspect under a magnifier for any cracks or loose connections, especially around high-heat components, and resolder these areas if needed.
- Ribbon Cable Connections: Ensure all ribbon cables and connectors are securely attached, as loose connections can cause video or audio problems.
5. Reflash Firmware (If Applicable)
- Firmware Recovery: Some issues may be due to corrupted firmware. Reflashing the motherboard with an updated or factory firmware may restore functionality.
6. Reassemble and Test
- Carefully Reassemble: Once repairs are complete, reassemble the TV, ensuring all screws and connectors are in place.
- Power On and Test: Check all functions, including display quality, sound, and input/output ports.
7. Calibrate Settings
- Adjust Settings: After repair, calibrate the display settings to ensure that the TV’s colors, brightness, and sound levels are as expected.
Safety Tips:
- Ensure the TV is completely disconnected from power before working on the motherboard.
- Use an anti-static wristband to avoid static damage to sensitive components.
- If you’re not experienced in electronics repair, consider consulting a professional, as motherboard repair can be complex and risky.
This guide covers common steps, but specific details will depend on the TV model and manufacturer.


Contact
- 62 Maulana Hockey Stadium Volleyball Market Gulistan
- 01729423573
- admin@subornoelectronics.com
